This is a small hall bath in Ballard, Seattle. Nothing fancy in the brief: keep the footprint, fix anything suspect behind the tile, and upgrade every surface so the room is easier to clean and nicer to use. Below are the real conditions — before, demo, and after — with plain notes on what changed and why.
If you want the same approach (simple plan, solid execution), here’s our process and scheduling info: Bathroom remodels in Seattle.
What we walked into
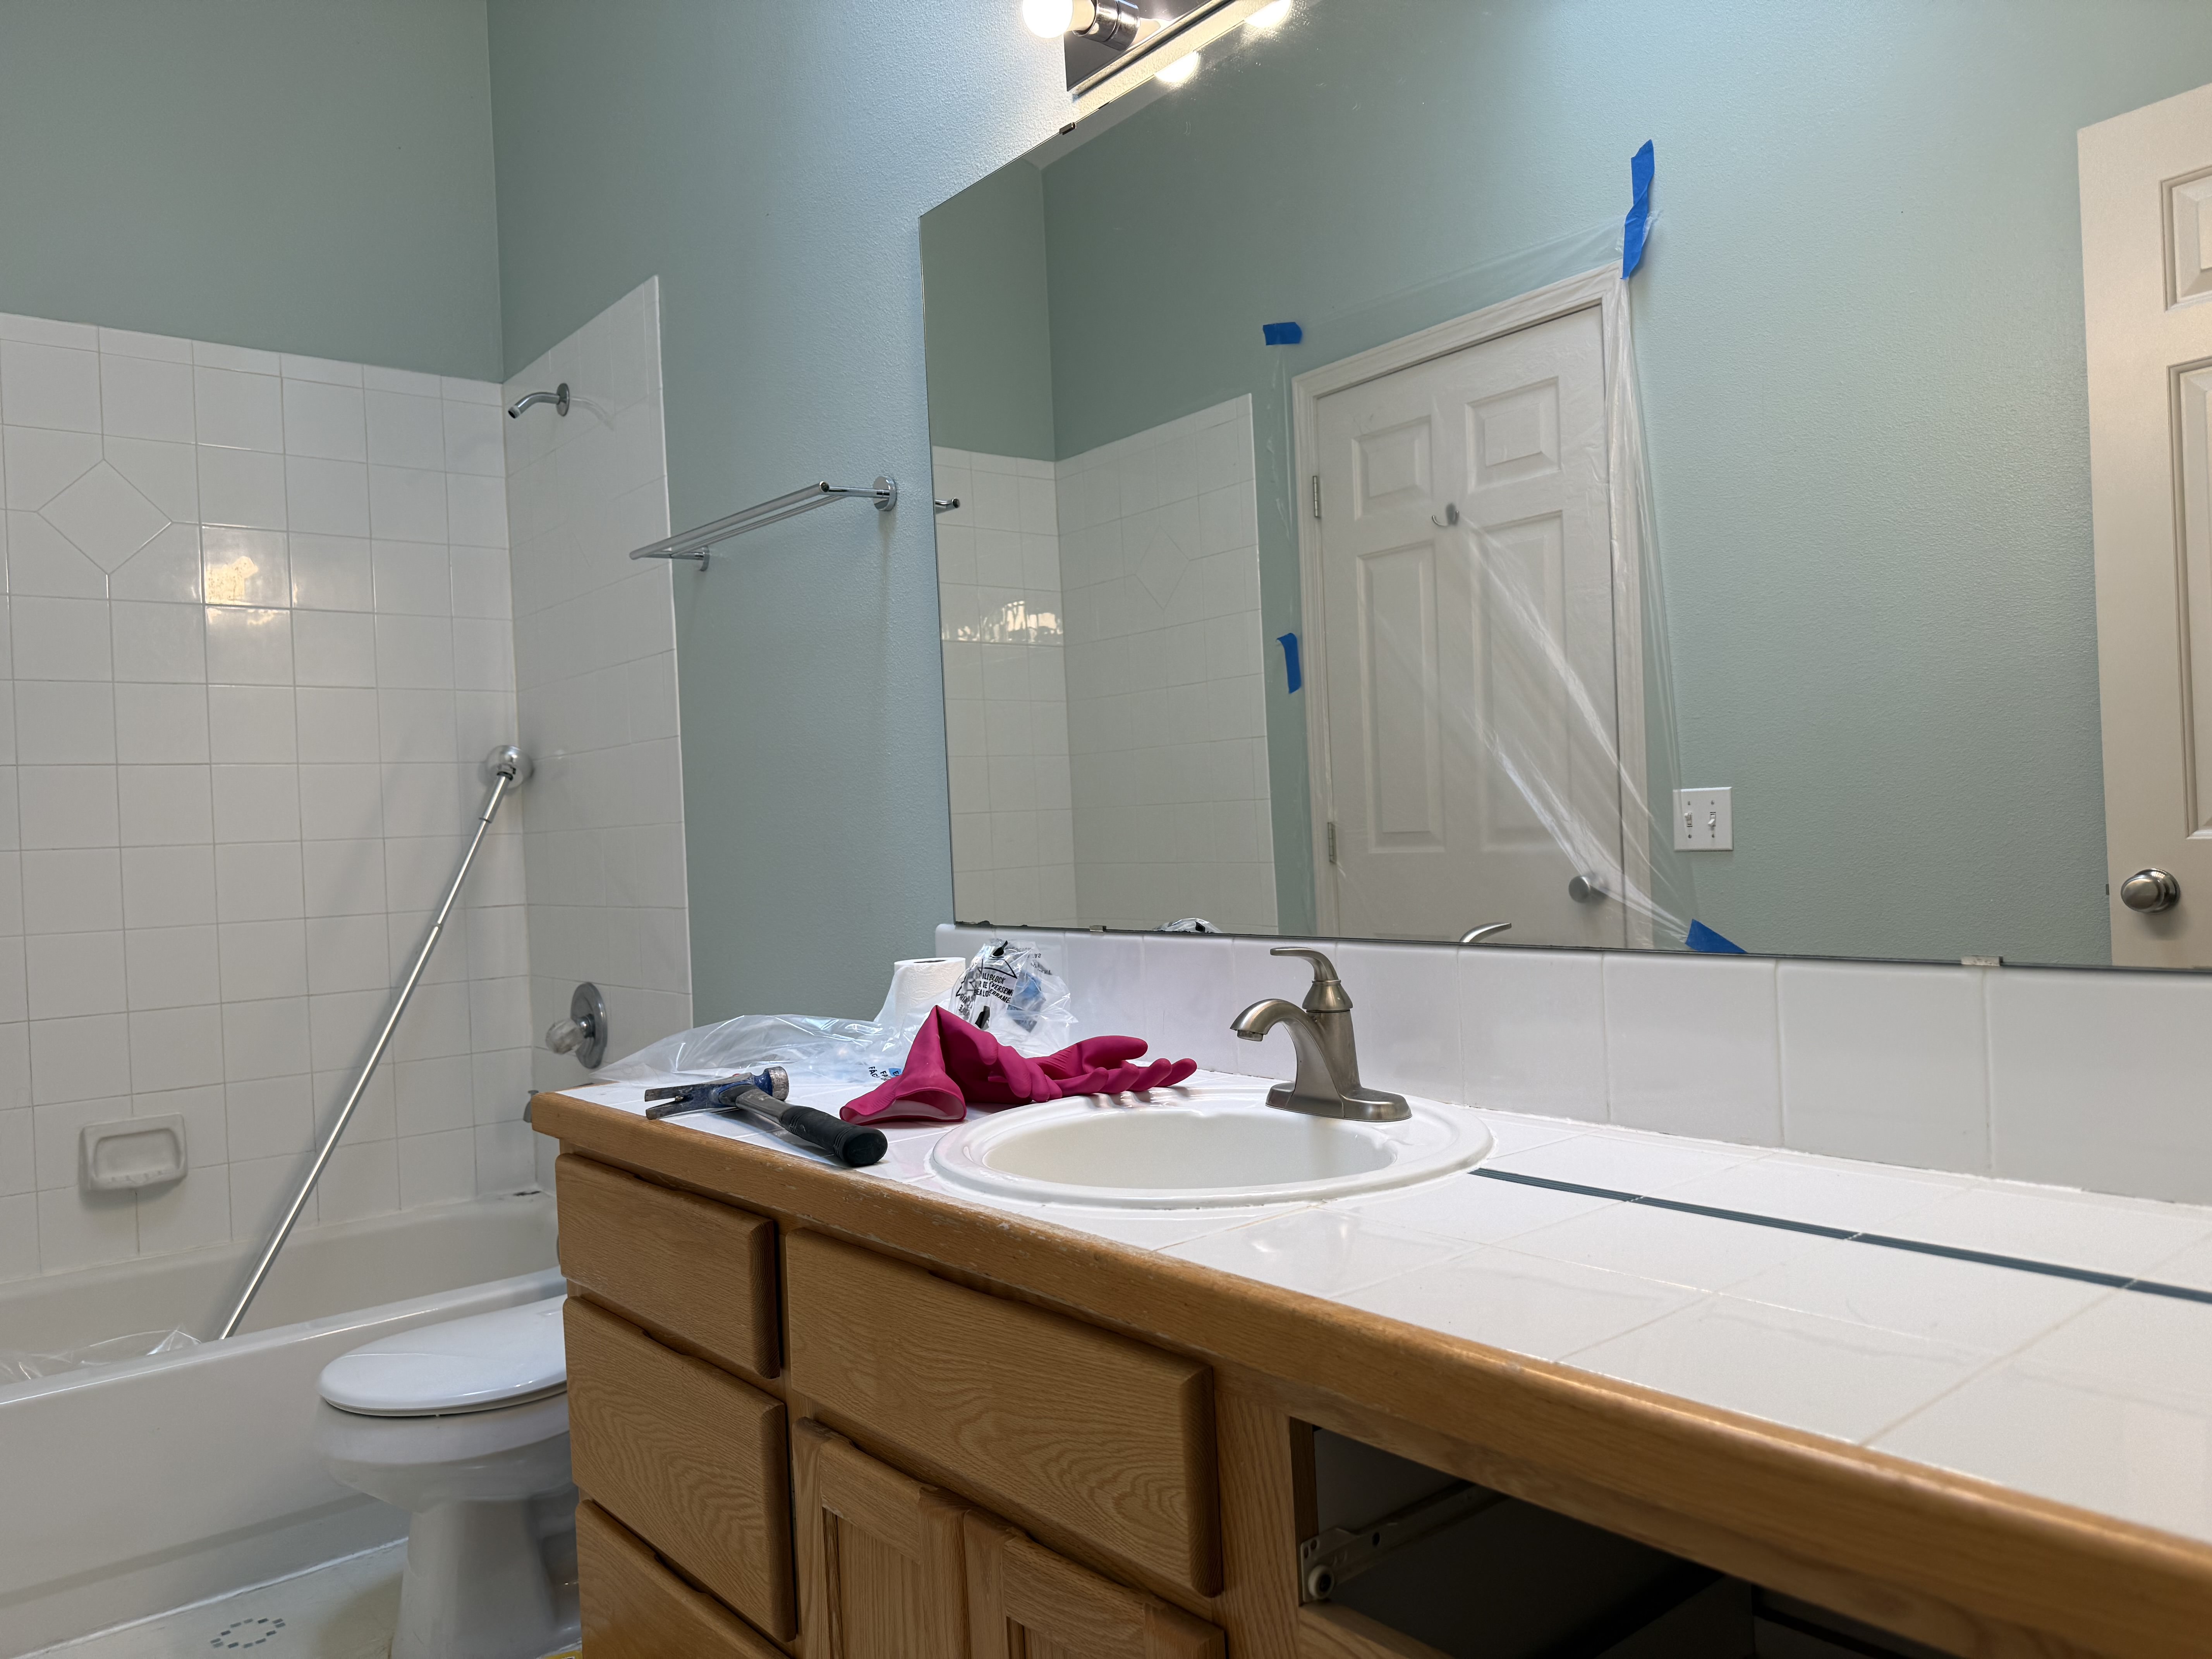
A very typical late-90s setup: 4×4 white tile around a tub/shower, a diamond accent set on point, tiled countertop with an oak edge, sea-foam walls, wall-to-wall mirror, and a Hollywood light bar. The room worked functionally but showed age and took too much time to keep clean.
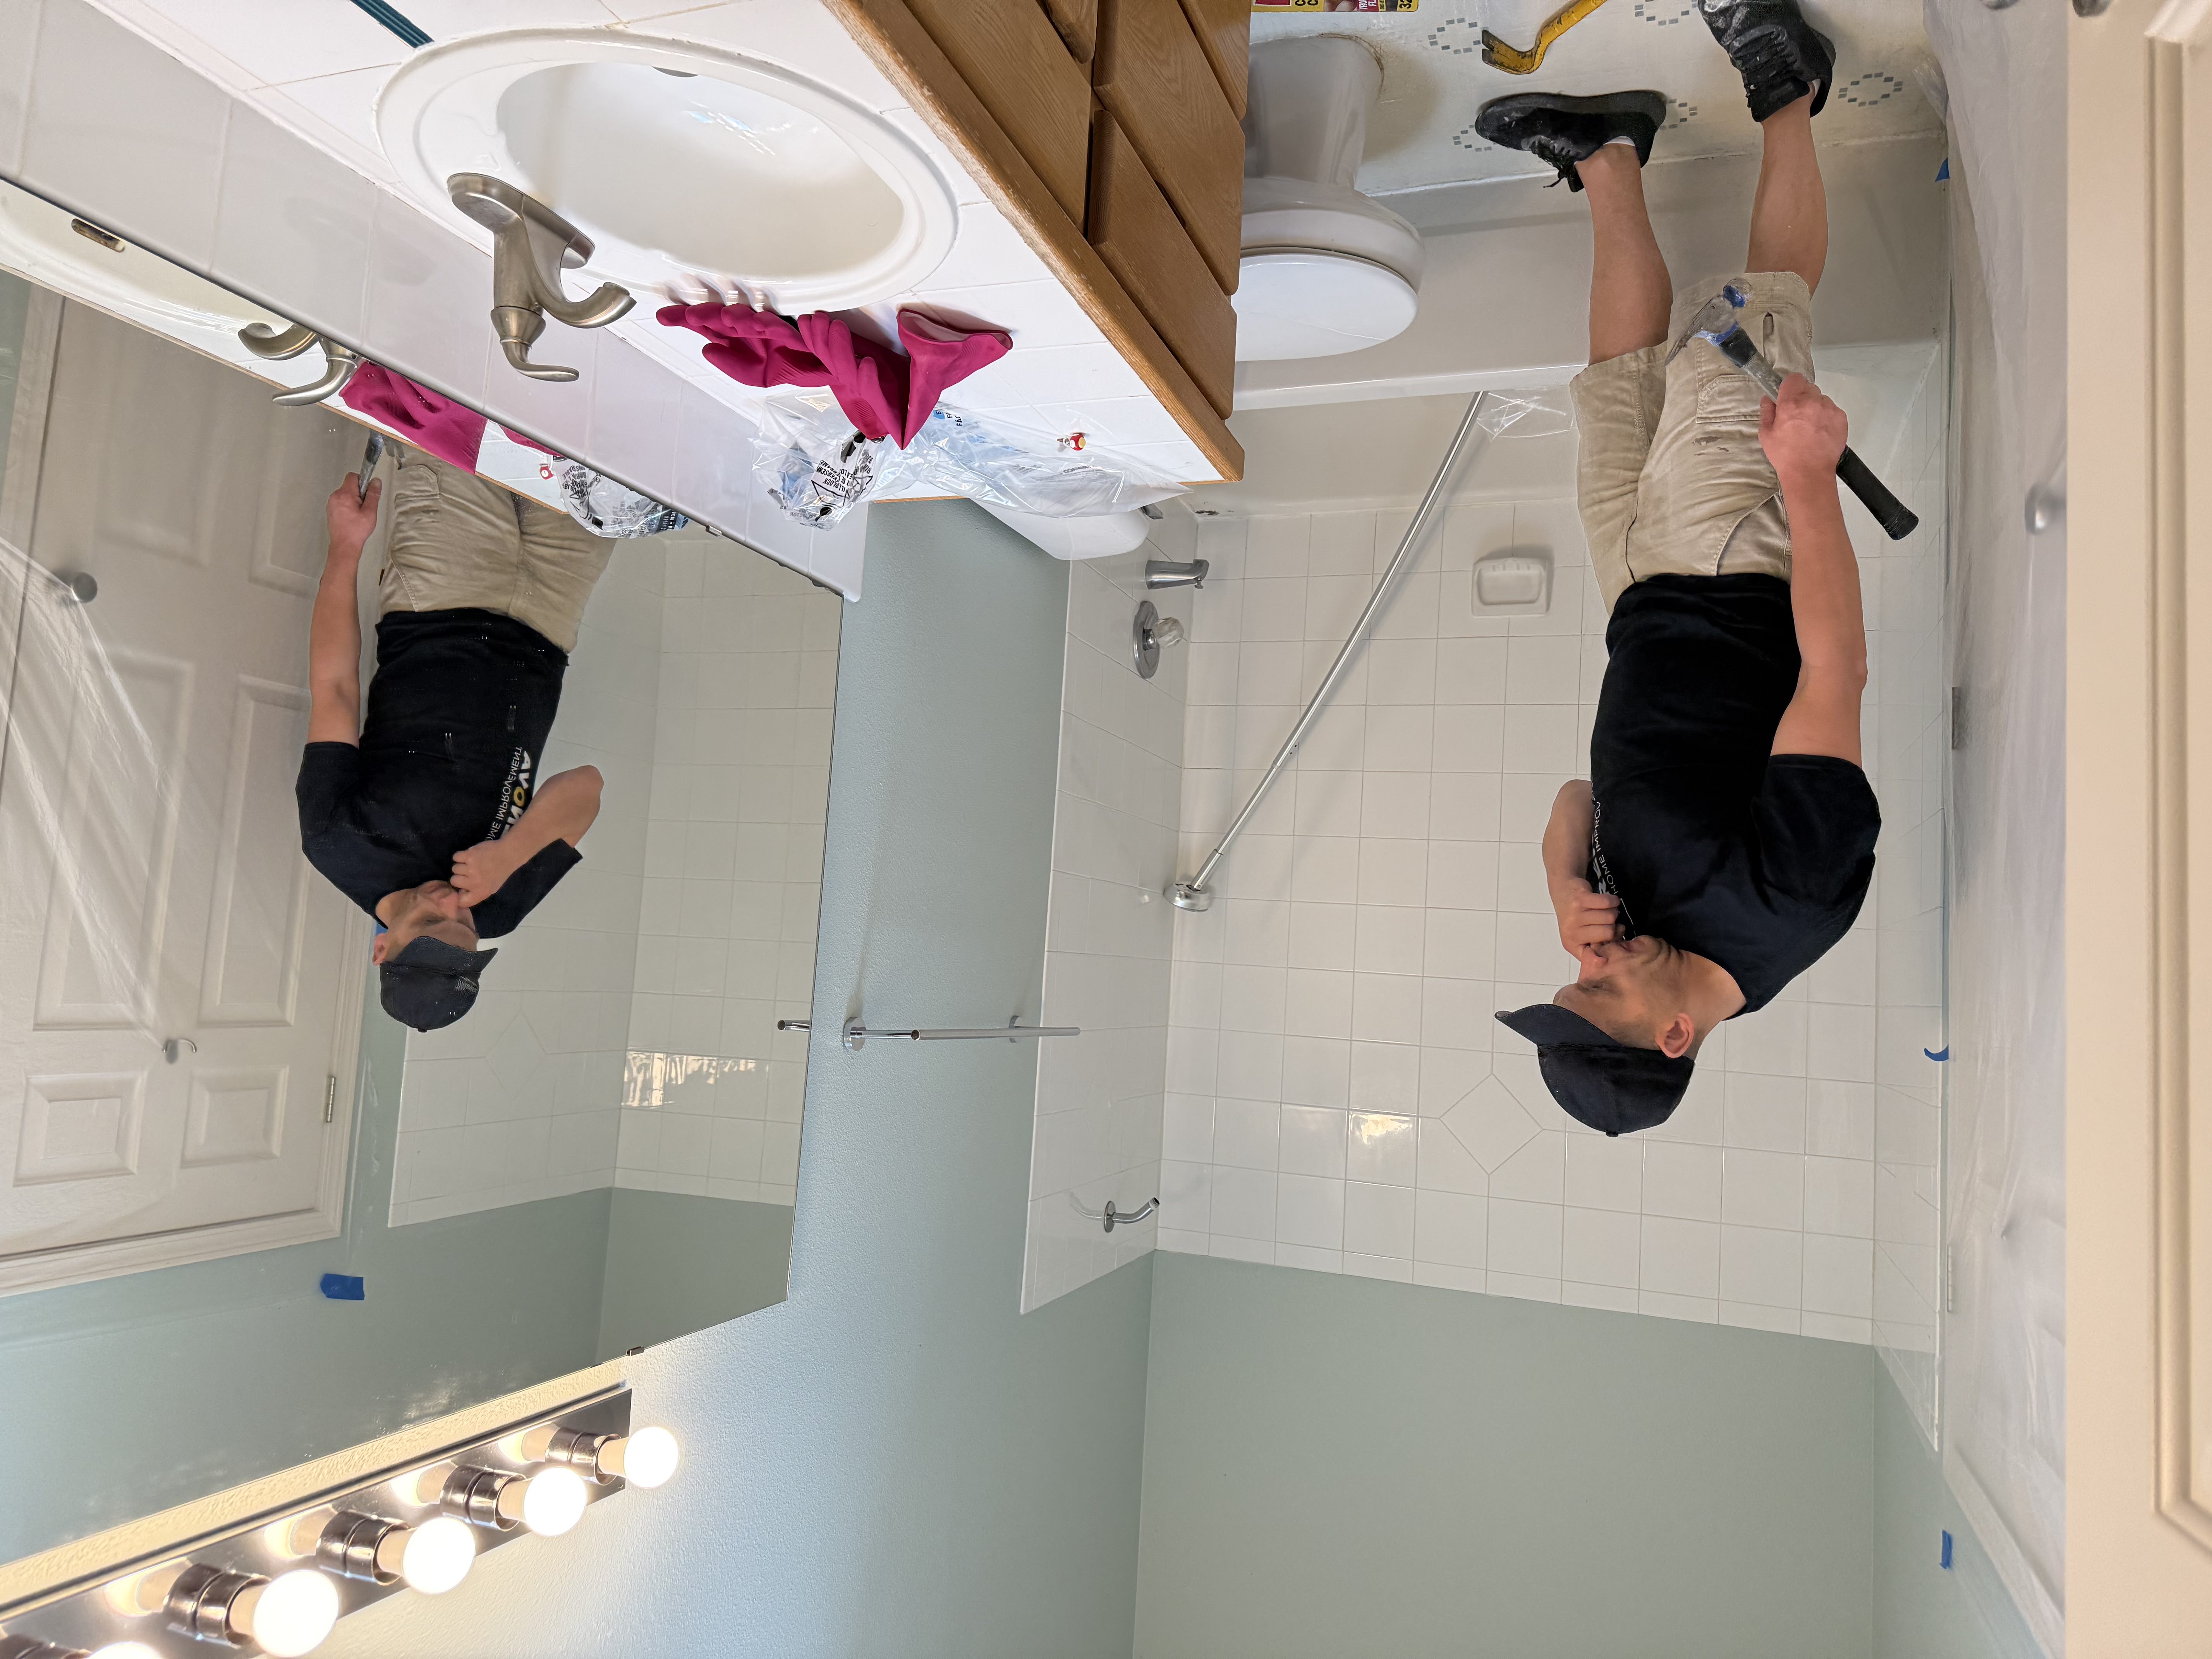
During the walk-through, we protected the door and floors, noted the grab bar and the tub condition, and confirmed which items would be replaced versus kept.
A quick counter detail shows the maintenance headache: tile and grout on a horizontal surface plus an old single-handle faucet.
Notes from inspection
- Tub was solid and worth keeping; flange was clean.
- No visible water damage, but wet walls would be opened to verify.
- Electrical would need GFCI and a tidier feed to the vanity lights.
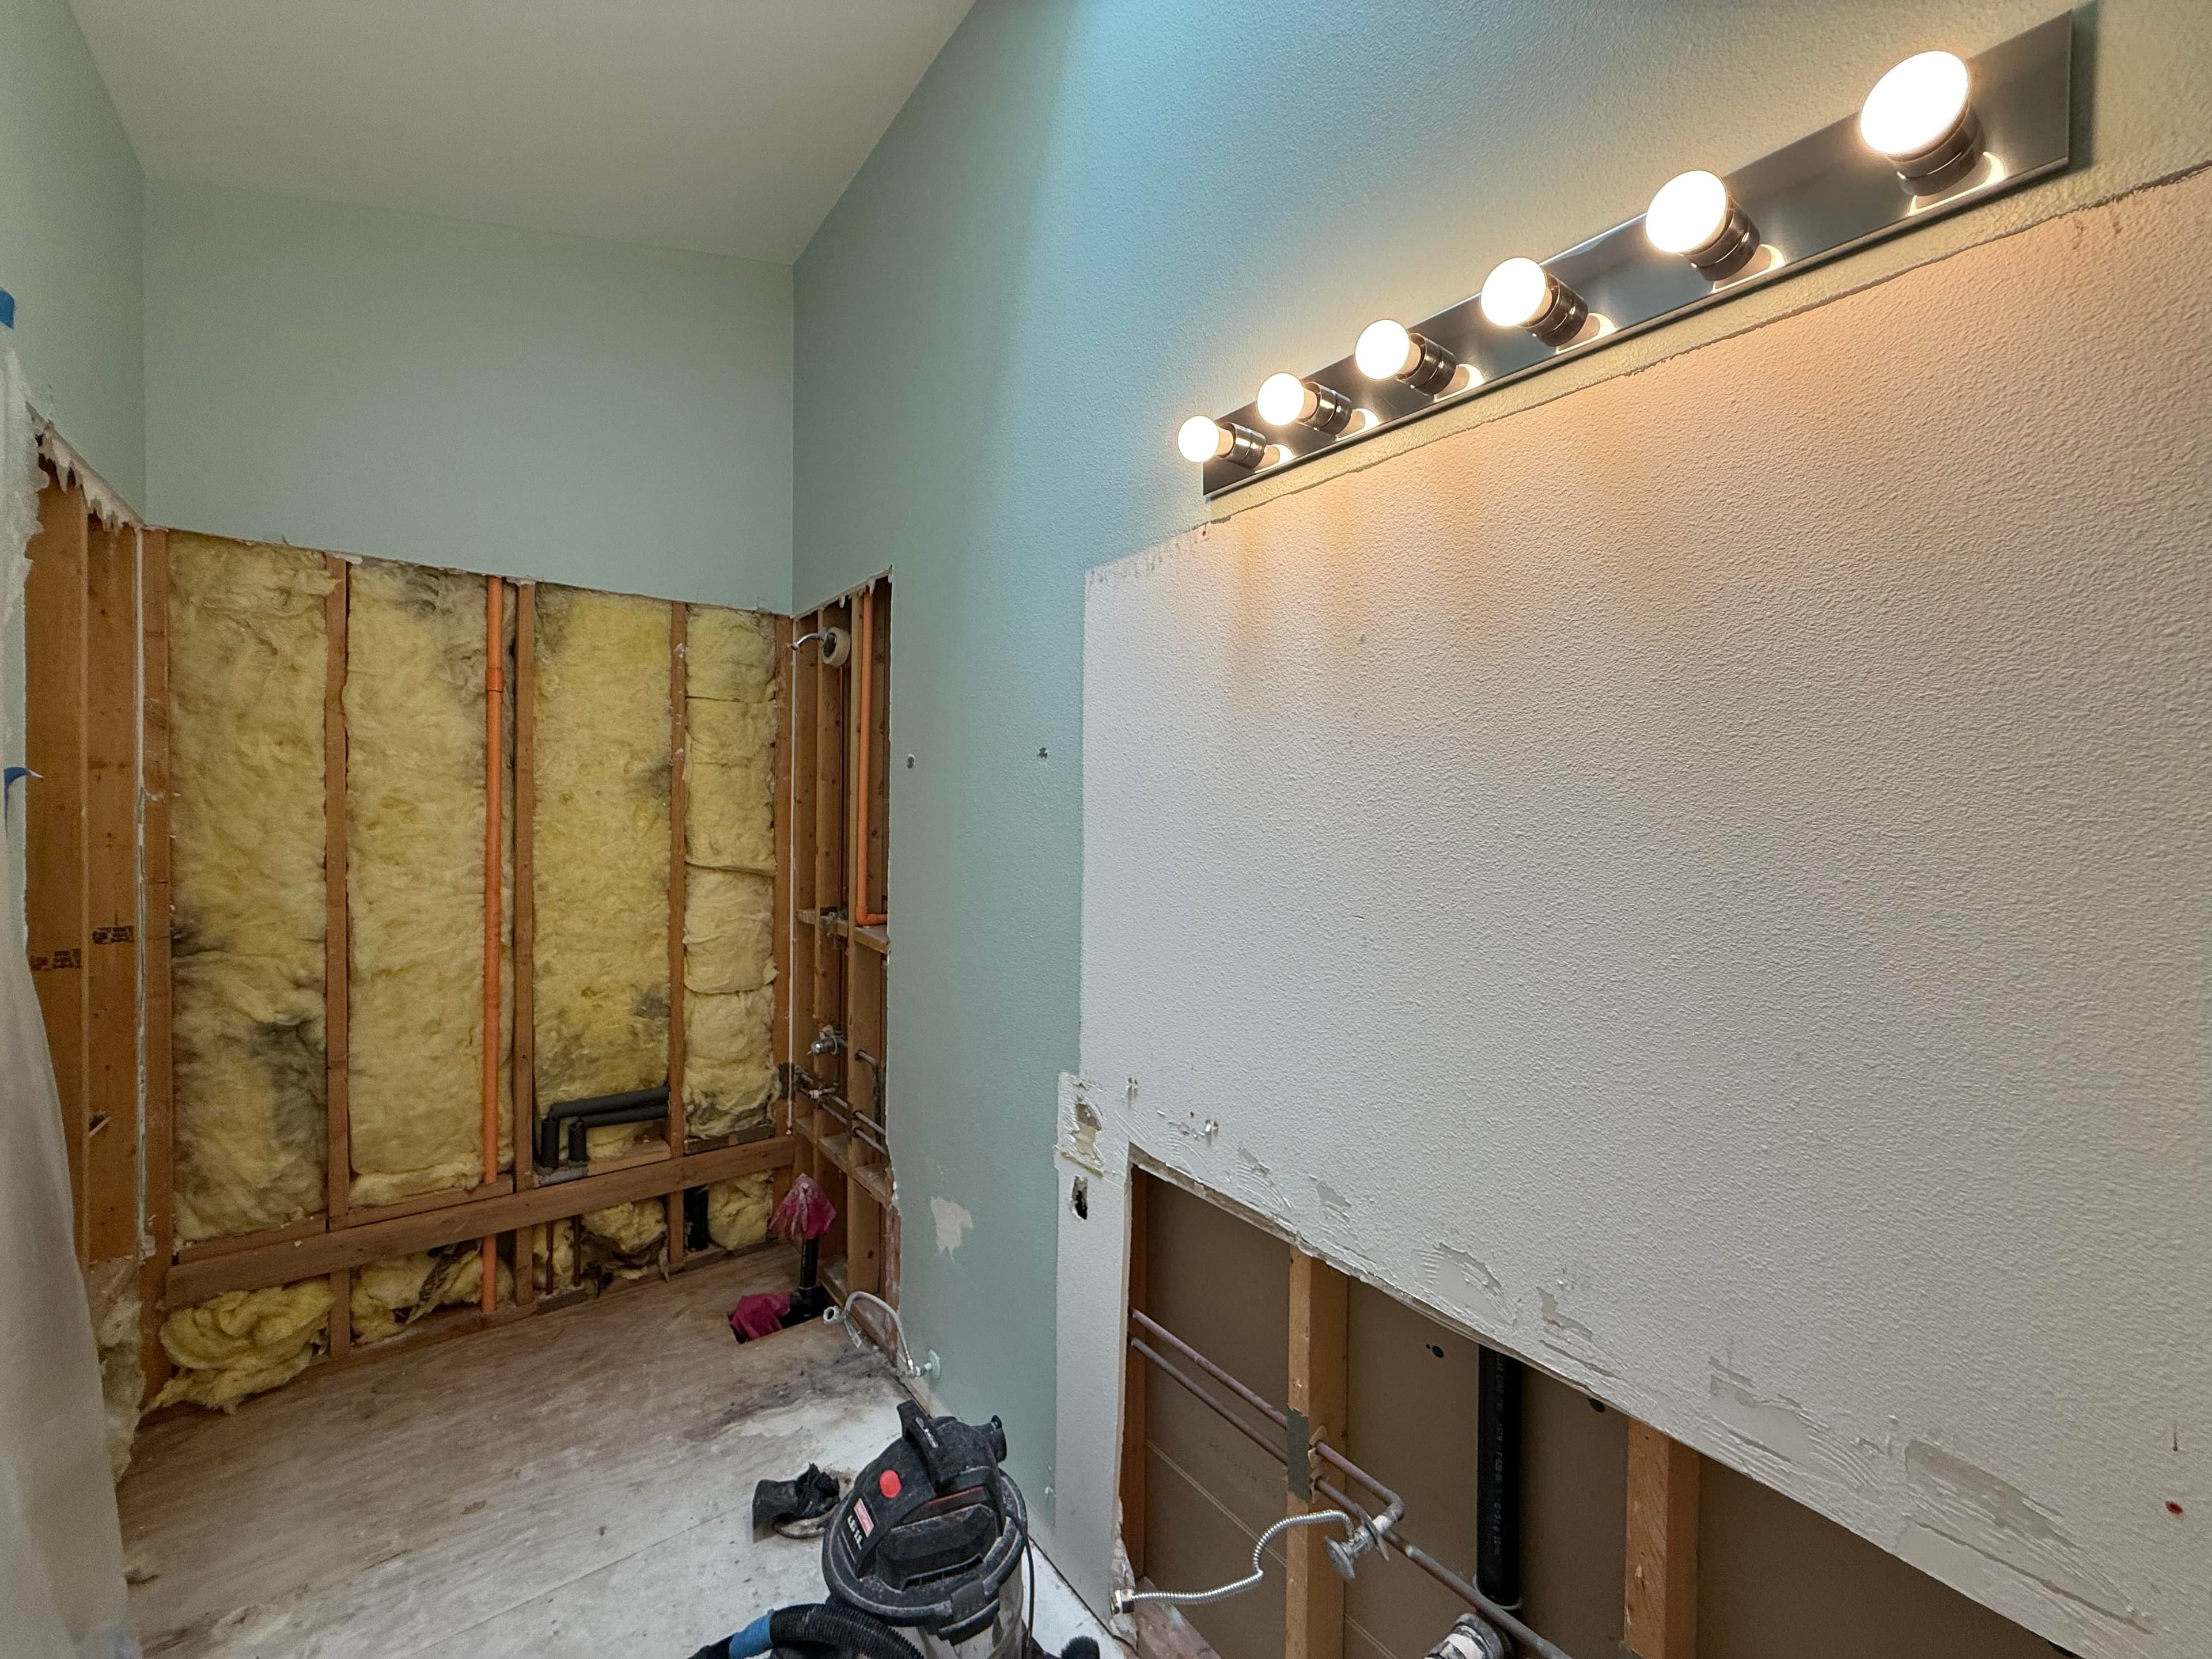
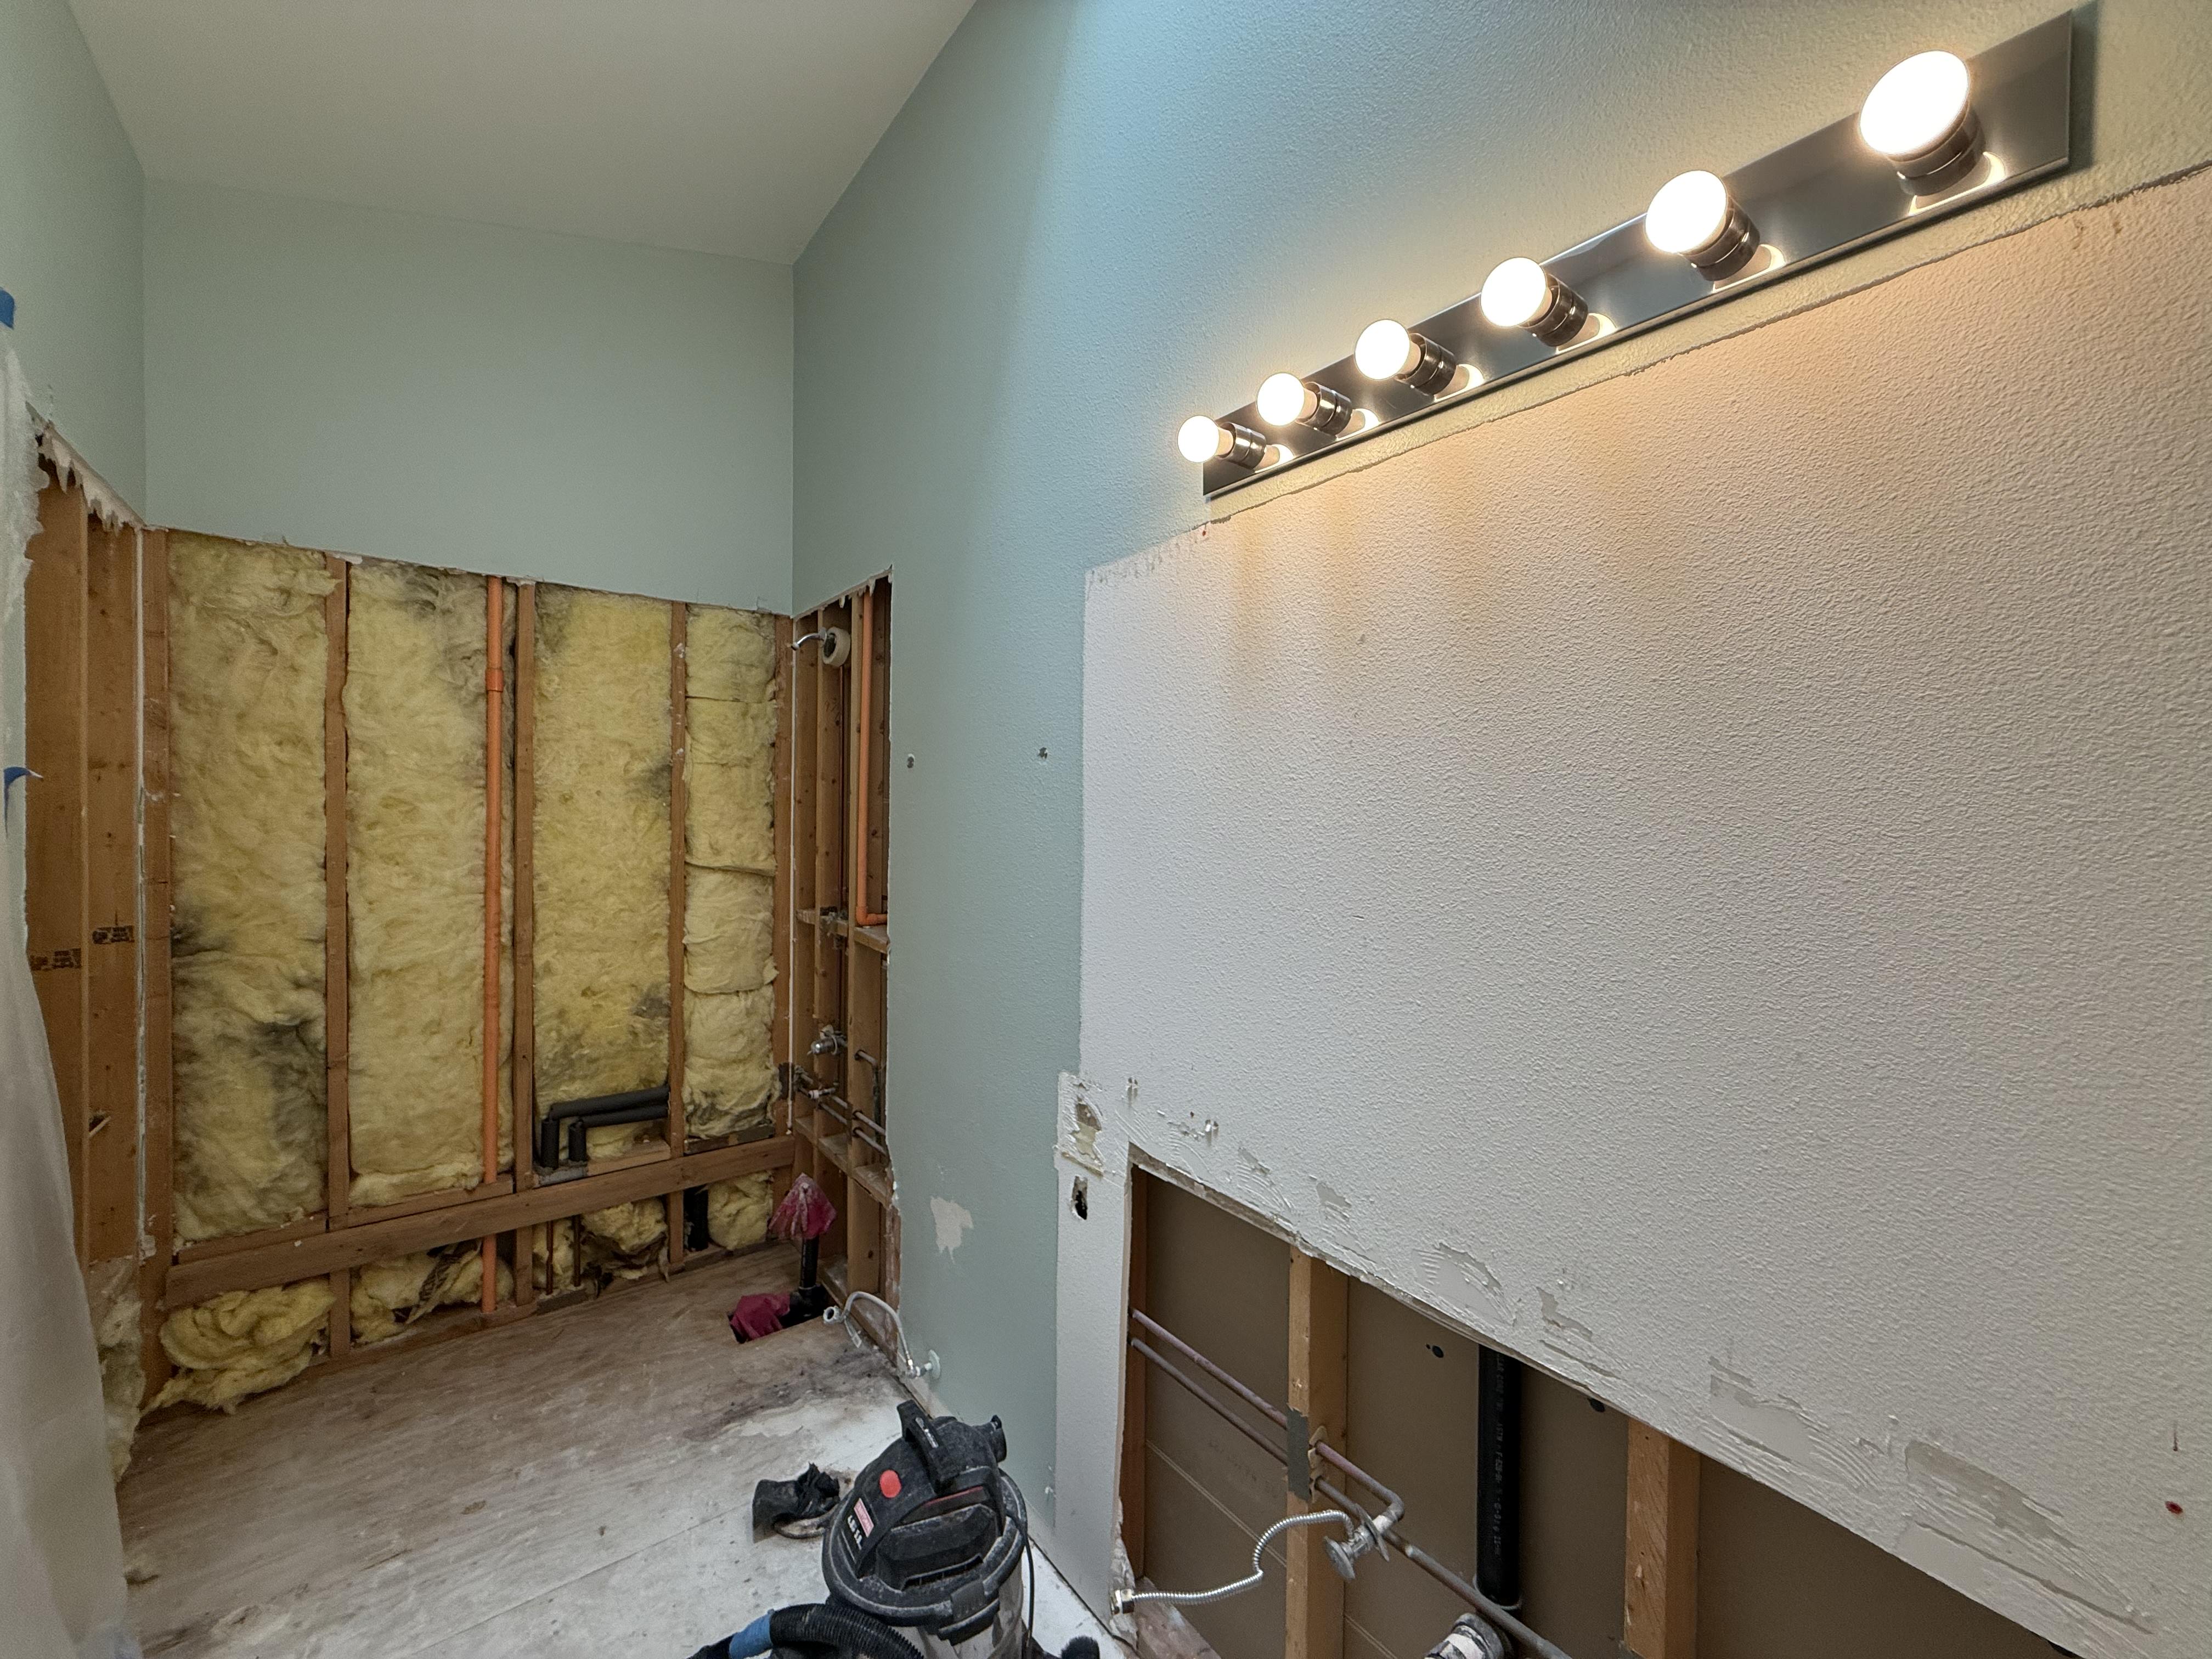
Demo and rough work
We ran standard protection, removed the surround and vanity, then opened the wet walls to the studs. That let us check for soft spots, fix old penetrations, and clean up the plumbing layout. Valves and stops were replaced; electrical was brought to current code.
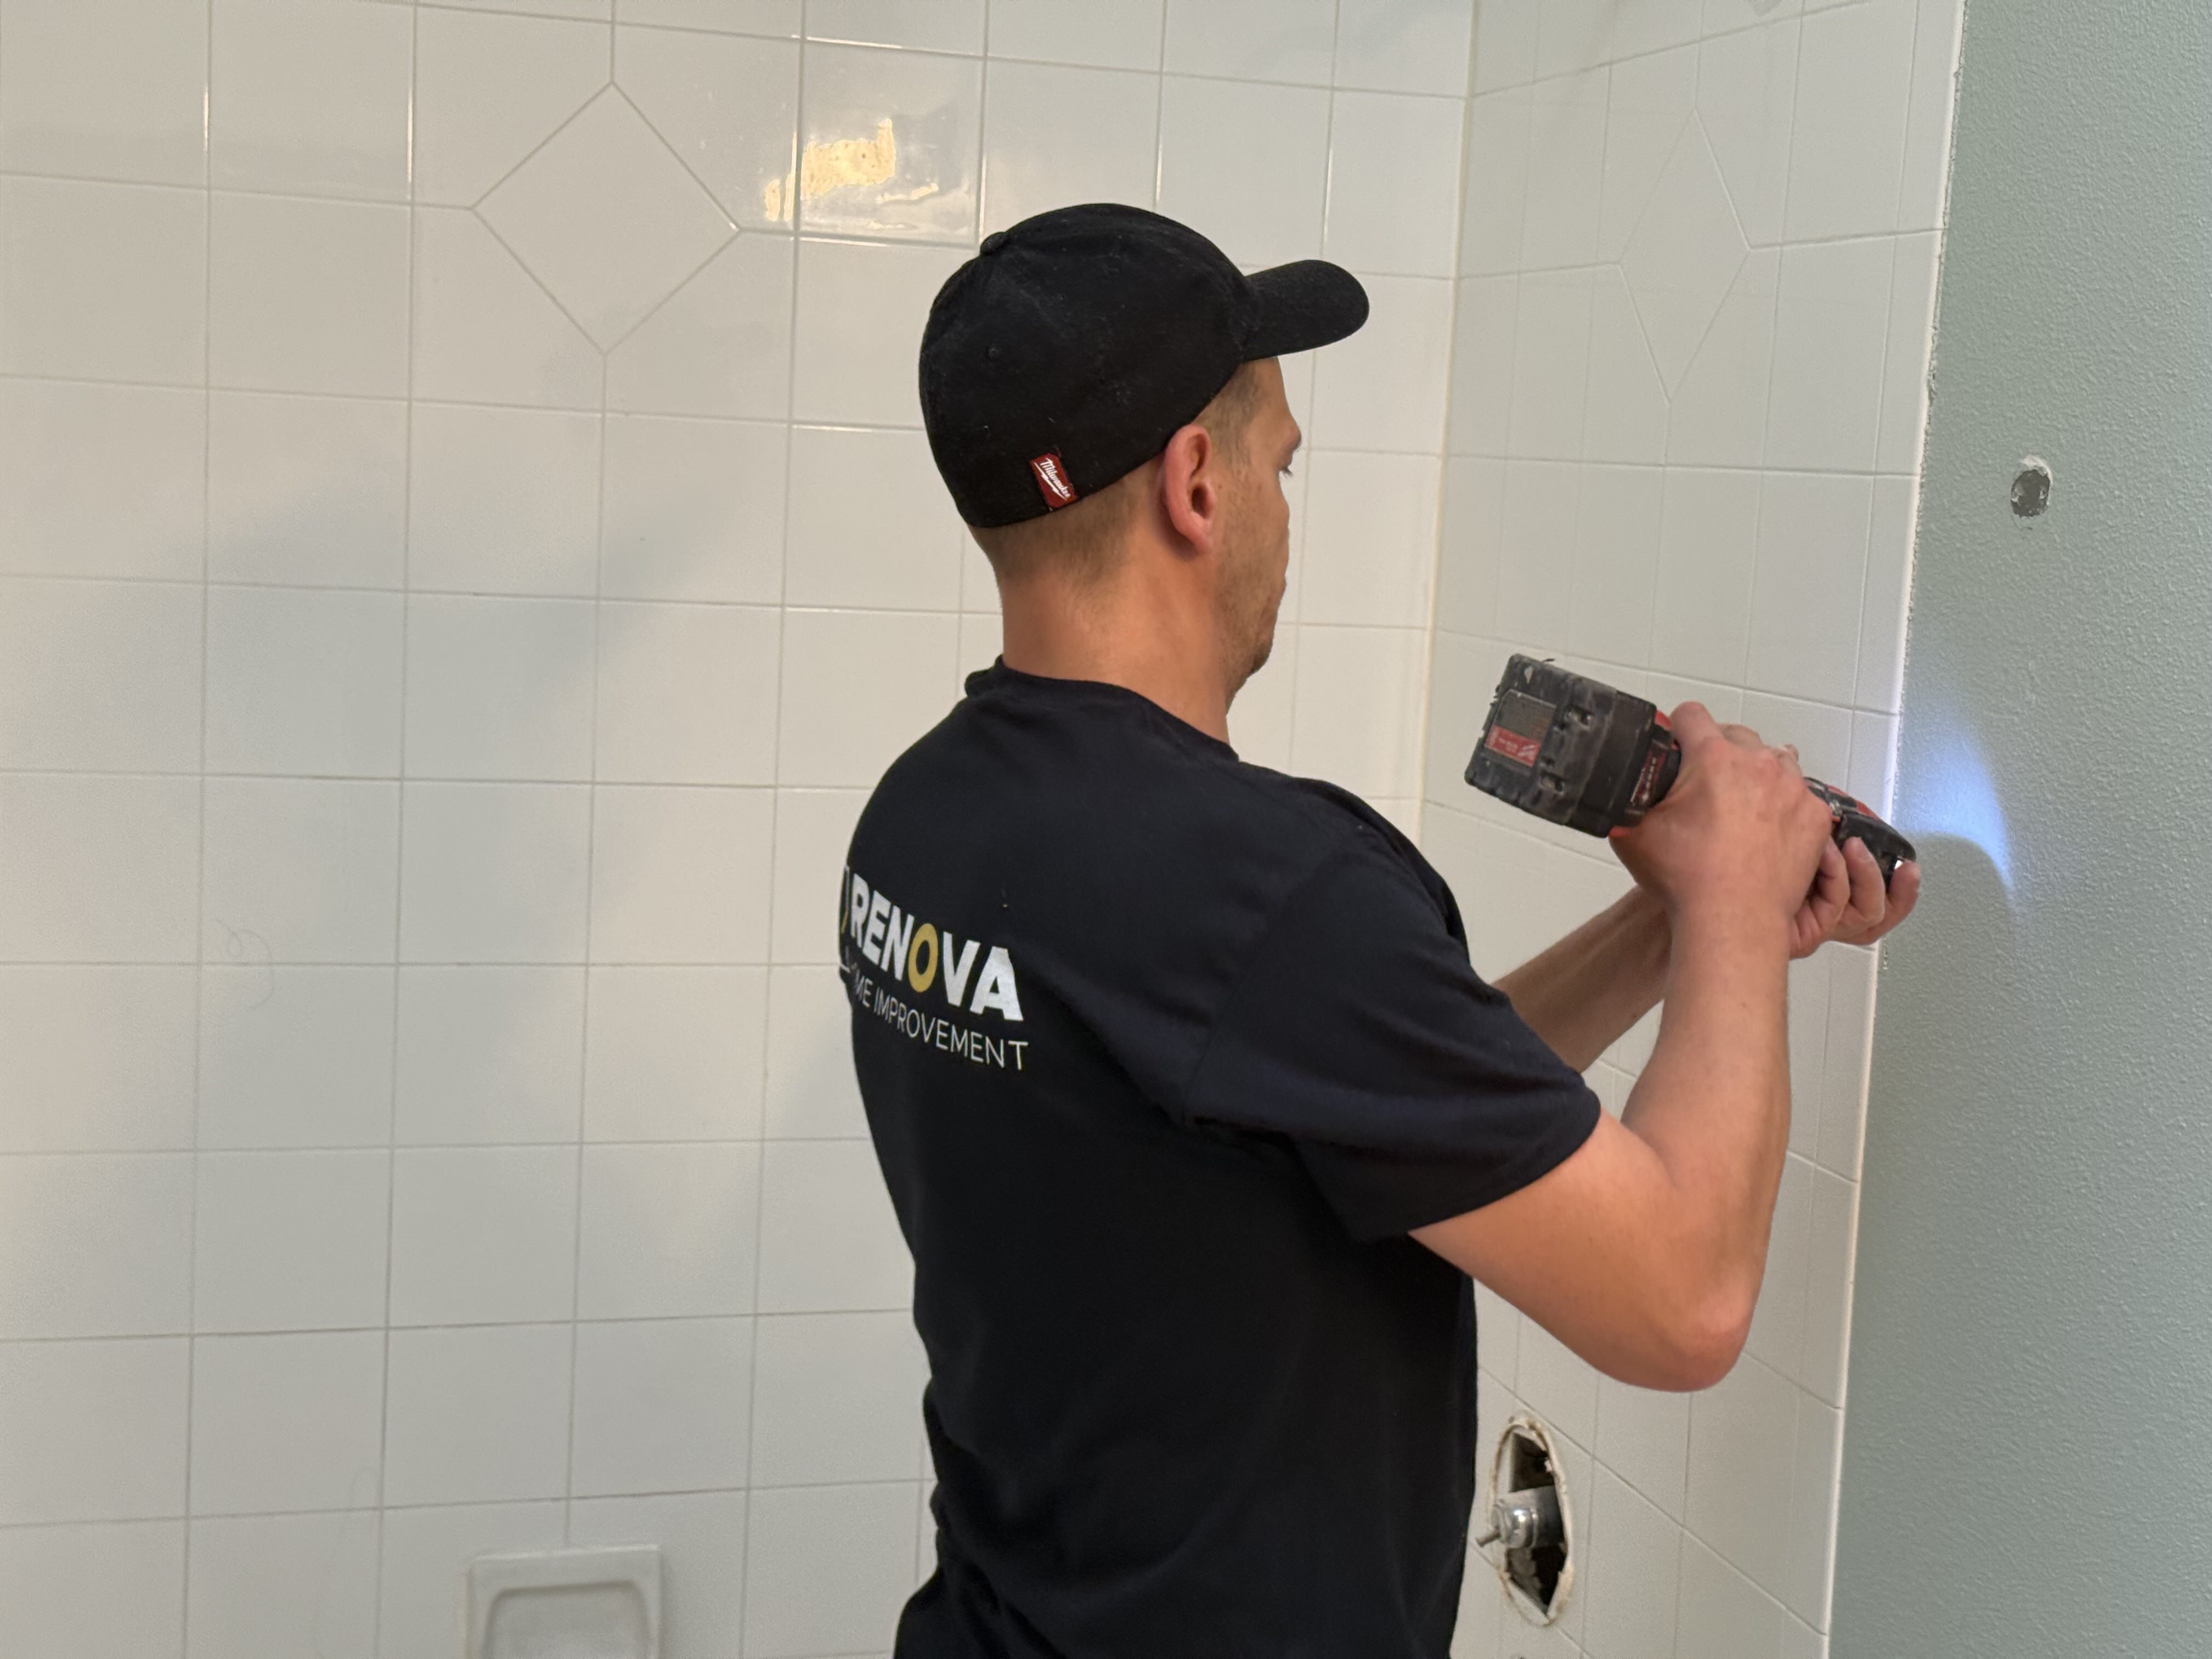
Once the surround and vanity were out, we insulated where needed, flattened studs, and installed proper backer and waterproofing in the wet zone. The goal is boring walls: straight, plumb, and dry.
Rough checklist
- Pressure test after valve replacement.
- Backer seams taped and waterproofed to spec.
- Movement joints planned at changes of plane and trim transitions.
- Electrical: GFCI device, quieted wiring to the vanity light, new fan switch verified.
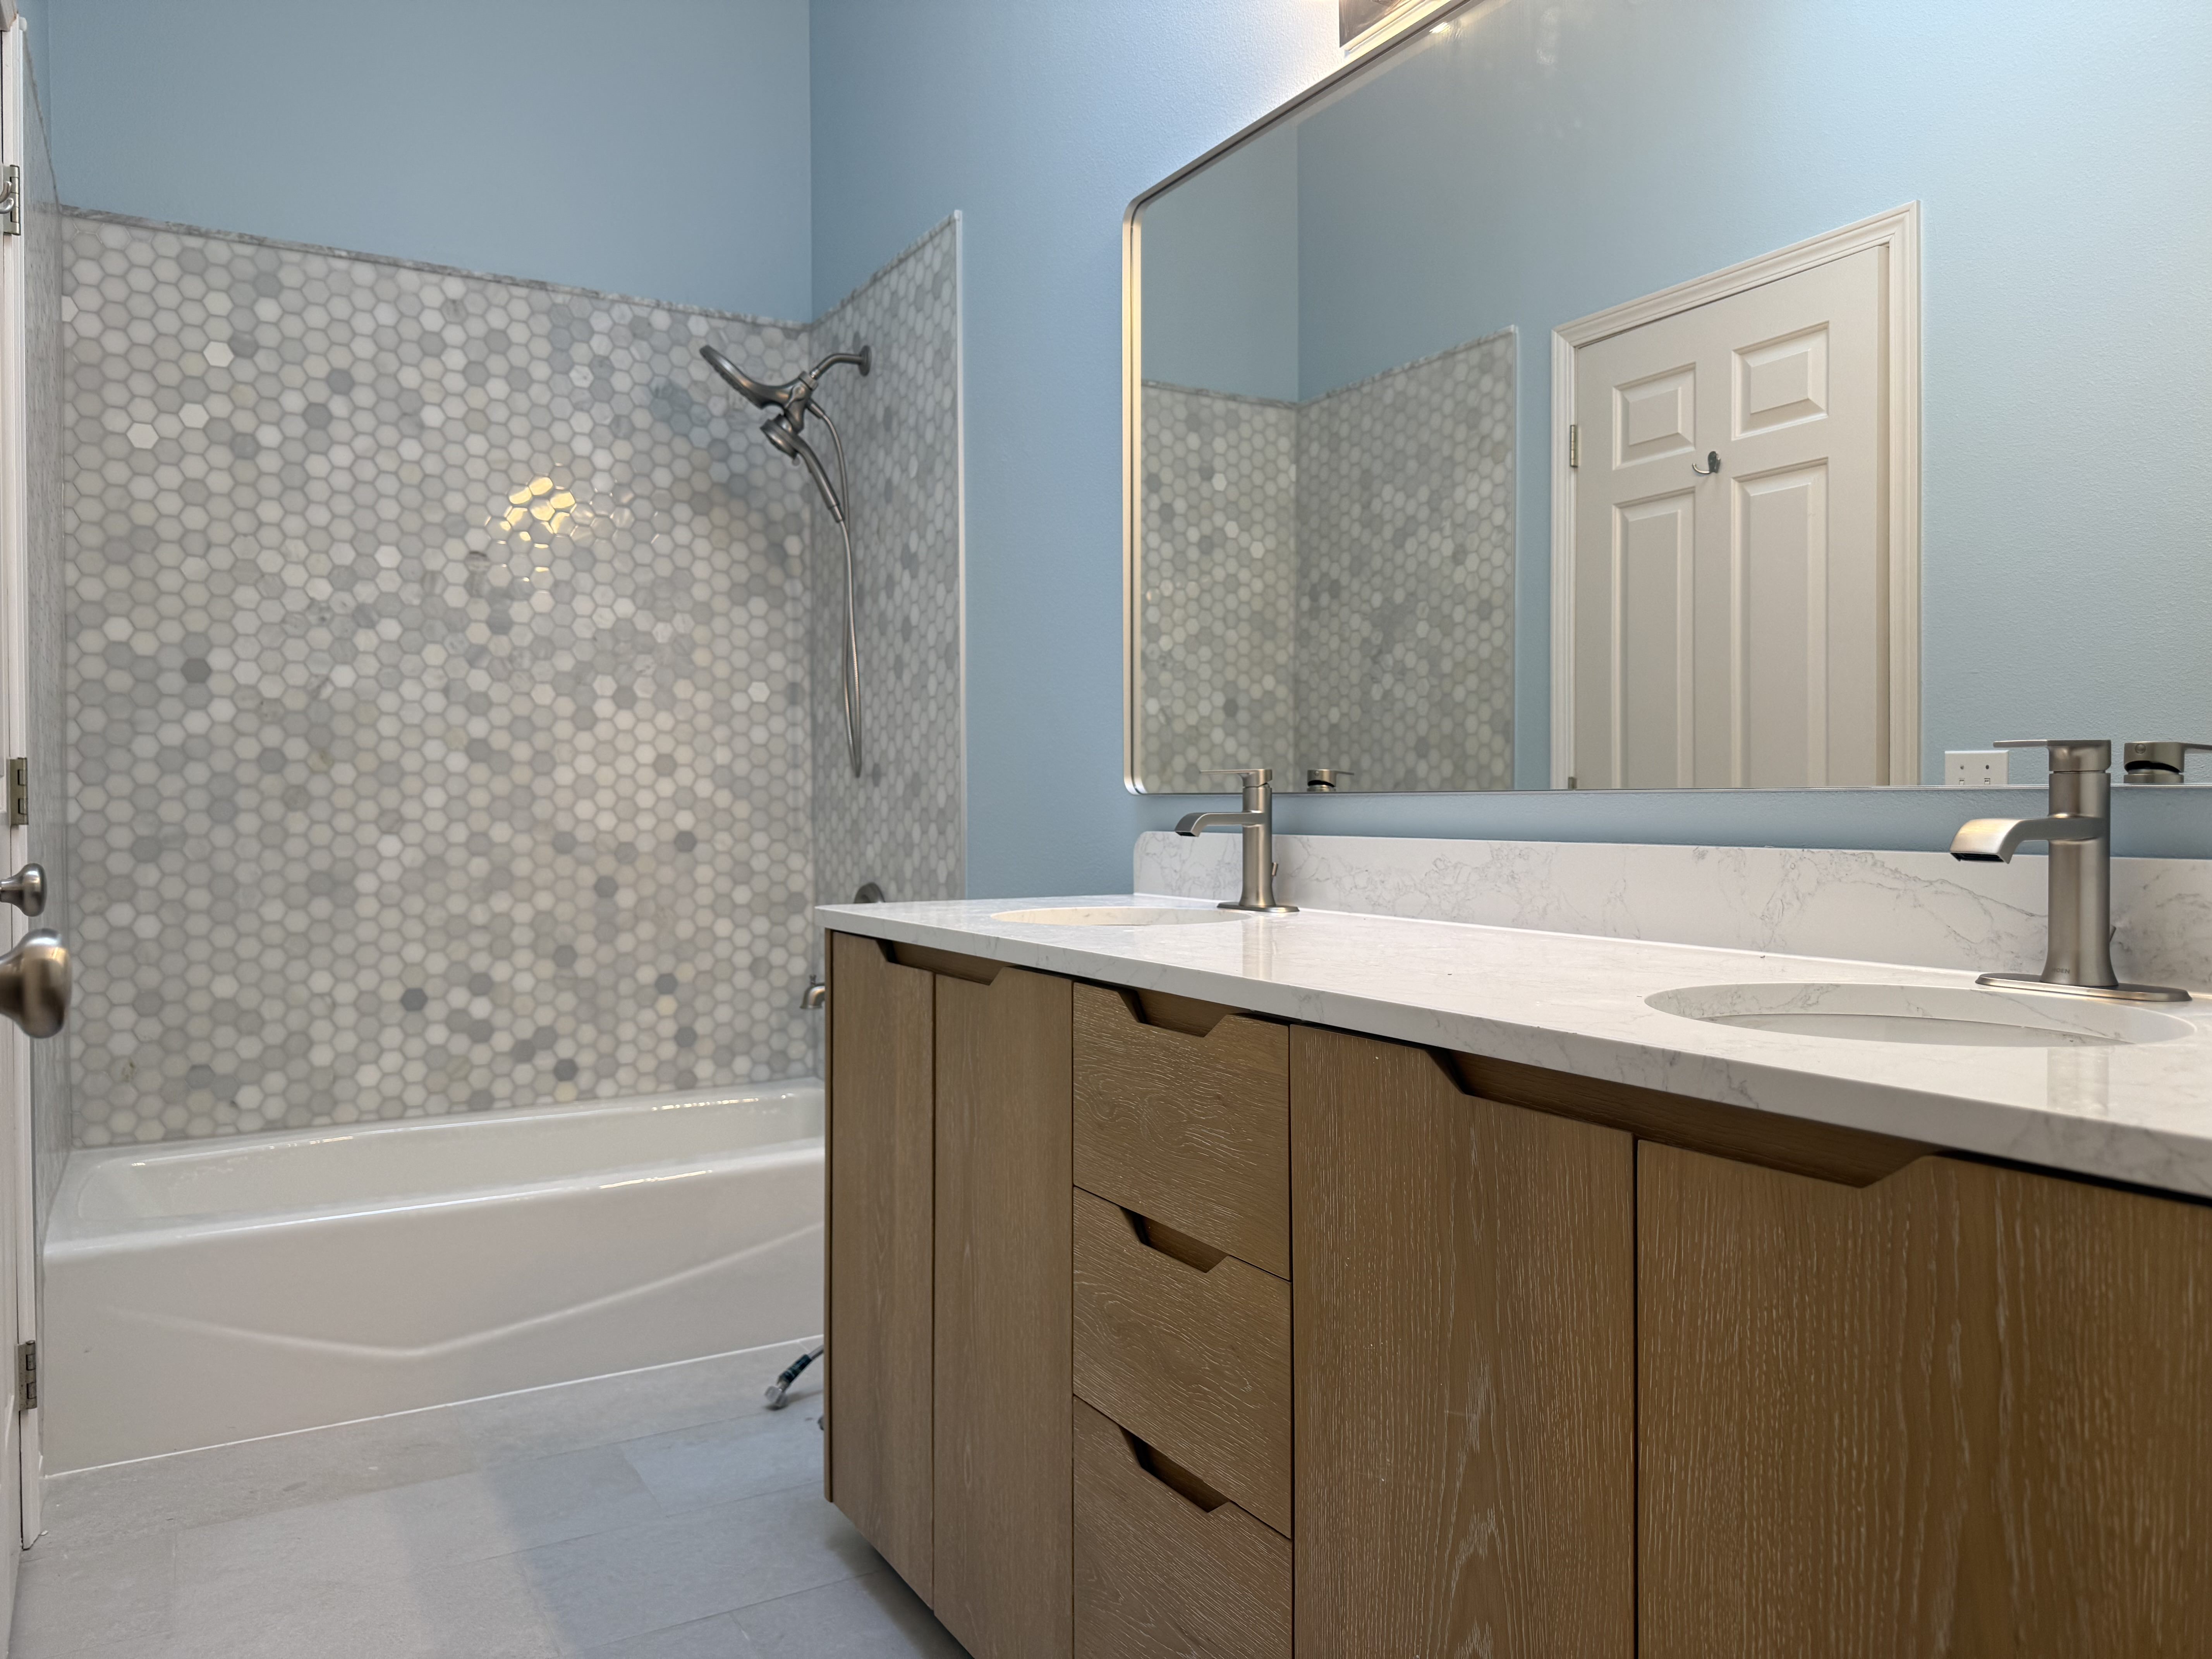
Finishes we installed
We kept the palette calm and durable. Nothing that needs babysitting.
- Tub surround: gray/white hex mosaic. Adds texture without shouting, works with the existing tub, and provides lots of tiny edges for grip when wet.
- Floor: large-format light-gray porcelain tile. Fewer grout joints, better traction, quick to mop.
- Vanity: warm oak slab-front cabinet with finger pulls (no protruding hardware). Big drawers instead of a dark under-sink cave.
- Countertop: white quartz with a short backsplash. No grout lines on the counter.
- Plumbing trim: brushed nickel — hides fingerprints and ties in with the shower hardware.
- Mirror & lighting: one large rounded-corner mirror and a refreshed linear light. Even spread, no harsh hotspots.
- Walls: the same calm blue, repainted with crisp edges and clean caulk lines.
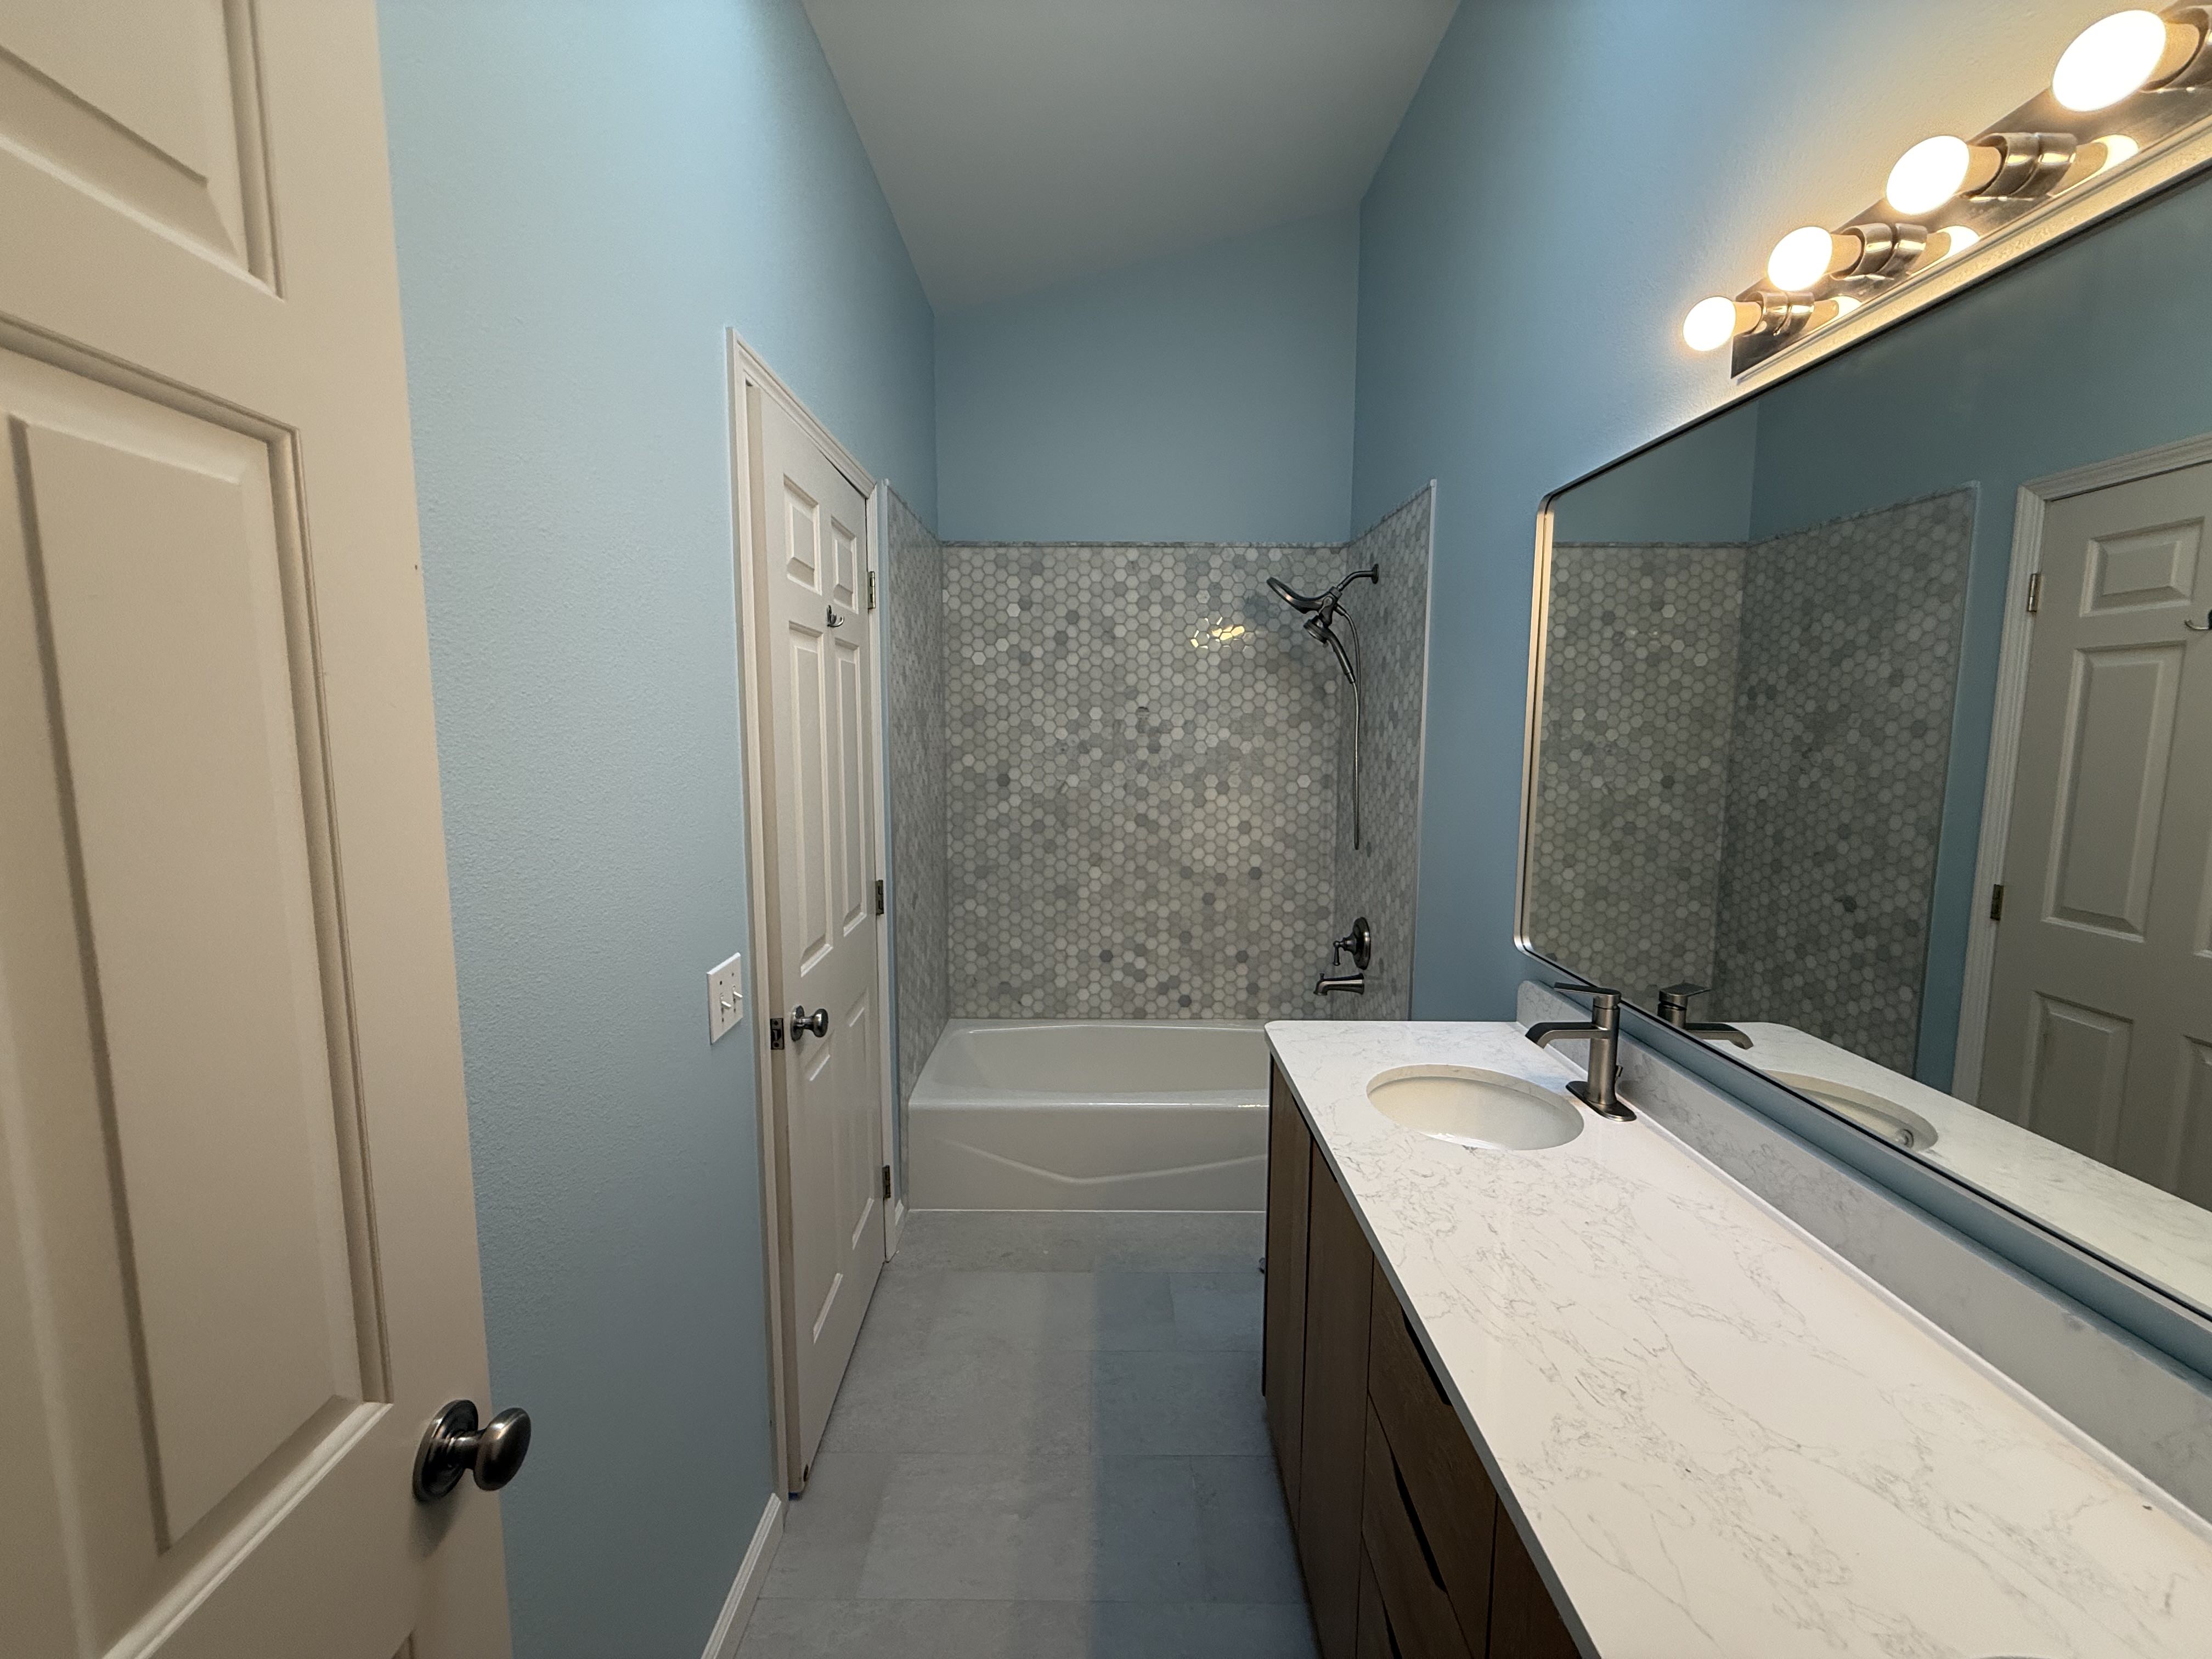
A long view from the entry shows how the pieces sit together: quiet floors, soft wall color, patterned surround doing the visual work, and the vanity staying warm without looking heavy.
Why the room feels better now
- Less grout to scrub. The old tiled countertop is gone; big floor tile means fewer joints.
- Storage that actually works. Deep drawers take hair dryers and cleaners upright; finger pulls don’t snag towels.
- Warm + cool balance. Oak vanity warms the space; gray floor and hex tile keep it calm and clean.
- Kept the tub, spent on the touch points. Holding the tub protected budget and time; money went into valves, tile setting, quartz, and fixtures you use daily.
- Waterproofing done right. Flat, plumb backer and continuous membrane. Caulk where there should be caulk; grout where there should be grout.
Scope in plain terms
- Protection and selective demo; haul-out.
- Rough plumbing (new stops/valves, cleaned diverter location) and GFCI/electrical tidy-up.
- Backer and waterproofing in the wet zone; straightening framing for a true tile plane.
- Tile: hex mosaic surround; large-format porcelain floor; movement joints at all transitions.
- Casework and tops: oak slab-front vanity; white quartz with short backsplash; under-mount bowls.
- Fixtures and trim: brushed-nickel widespread faucets; handheld shower; new stops and supplies.
- Mirror, lighting, paint, silicone, punch, full clean.
Timeline and disruption
With decisions made and materials on site, this kind of keep-the-layout bath typically runs about four weeks end to end in Seattle: protection & demo → roughs → waterproofing & tile → casework & tops → trim-out/paint → punch. We sealed the space during messy phases and kept daily cleanup tight so the rest of the house stayed livable.
Extra photo angles (alt text for accessibility)
The same set shown above, listed with descriptive alt lines:
Need more space?
Need more storage, a real office, a media room, or a bedroom that meets egress? Even a rentable ADU? We lay it out to match how you live and what you want to spend. We work in Ballard, Queen Anne, Fremont, Magnolia, Green Lake, and West Seattle, and we hand you a dry, quiet space that passes inspection and is ready to use.
Closing note
Same footprint, better bones, and finishes that don’t fight you. That’s it. If you’re in Ballard or nearby and want a bathroom that holds up and stays easy to clean, the photos here show the level of work. For scheduling or a clear estimate, see the Seattle bathroom remodel page and we’ll walk you through next steps.